This piece originally ran on bbcgoodfood.com last year. I've been getting a number of Twitter messages and emails recently asking for advice on how to get started with food photography and styling, so thought I'd put it up on the blog. These ten points are only the merest tip of the iceberg (lettuce?), but I hope that you might find them useful...
1. Get the right kit
It's a myth that you need a super-wow camera to take nice food photographs. Entry-level DSLRs are quite reasonably priced these days and if you're shooting for a blog, the picture quality will be more than adequate. It's worth investing in a nice lens if you're feeling flush, but I honestly think it's how you apply the technology you have that really matters.
2. Try not to use a flash
Camera-mounted flashes are pretty much off-limits for food photographers; pouring in light front-on will flatten your dish and dispel any delicate natural shadows that were present beforehand. Unless you have access to specialist studio lighting equipment, your best bet is to…
3. Always carry a tripod
Poor light is just one of those things. Having said that, there's nothing worse than getting the composition spot on, only to discover when you get home that camera shake has rendered your shot a grim, blurry affair. If you're using a DSLR, any exposure longer than a 1/60 of a second could really do with the aid of a tripod.
4. Choose props carefully
While your viewer may only acknowledge them on a subconscious level, the choice of tablecloth/surface, plate and cutlery all subtly contribute to the mood and success of your shot.
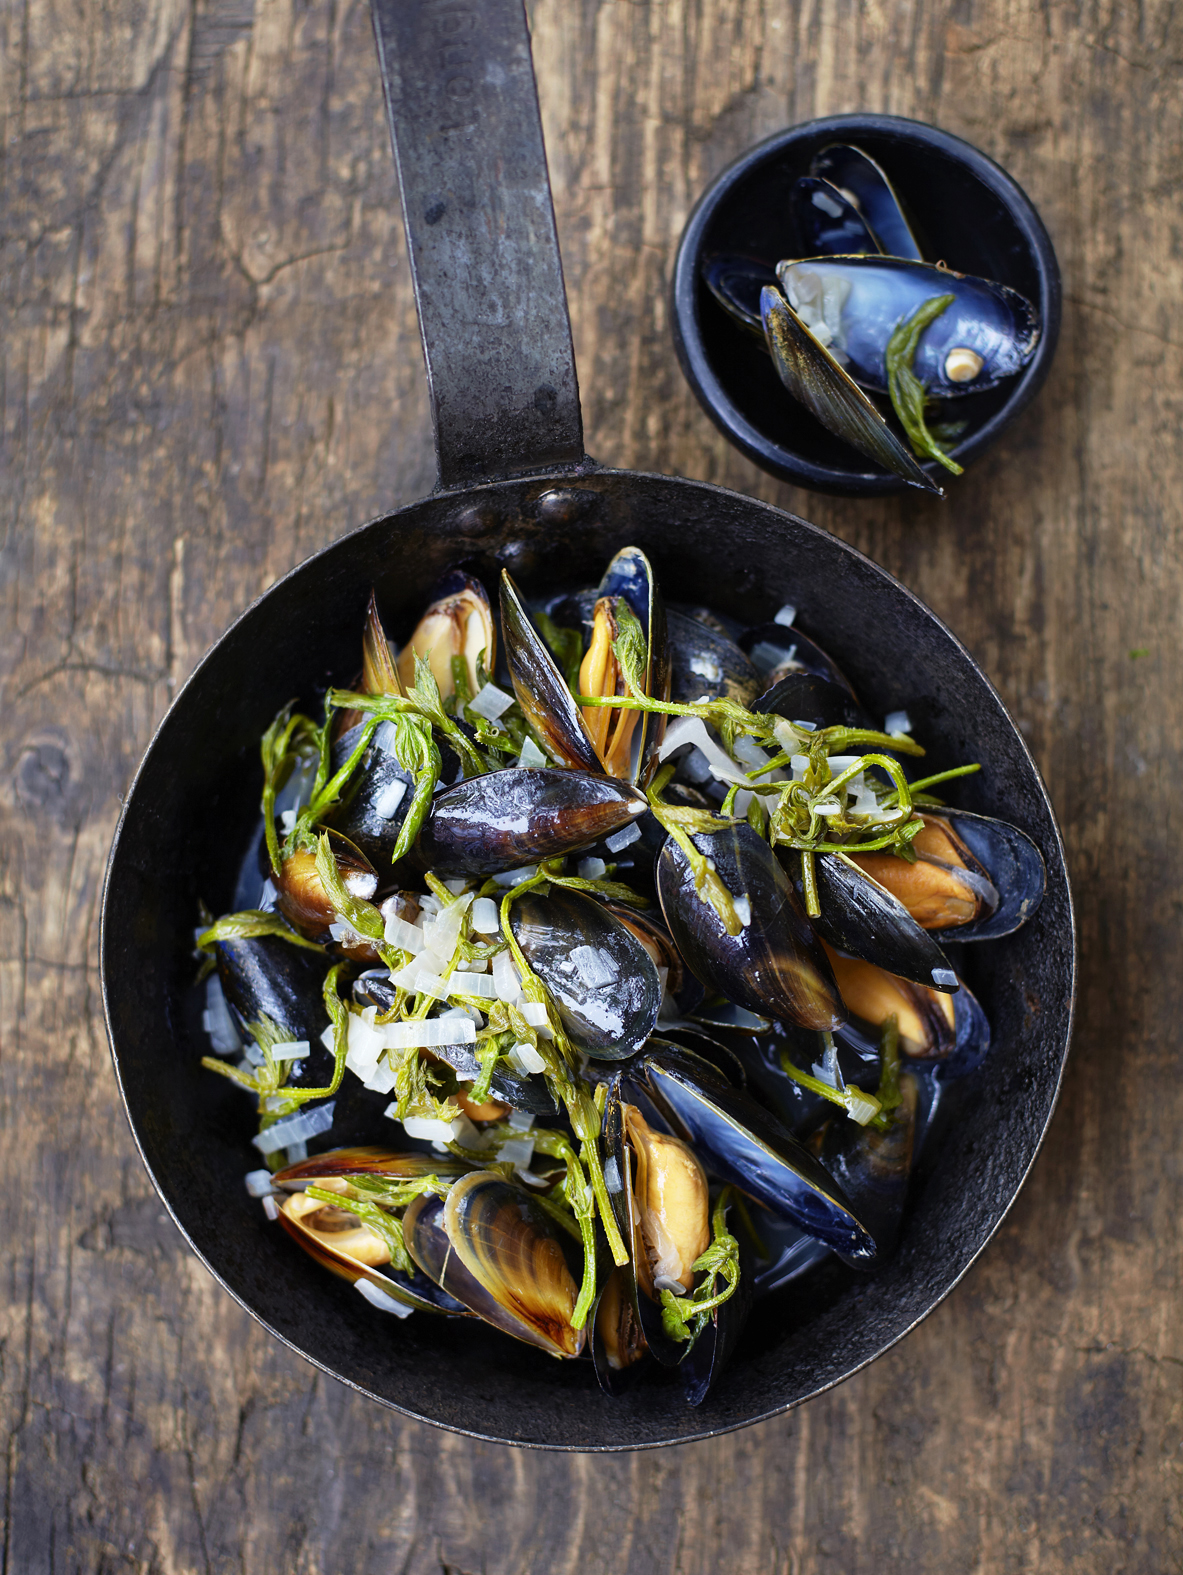
5. Find the best angle
Certain recipes have a strong graphic identity and will look striking when photographed from directly above, while other subjects (tiered cakes being a good example) often need to be shot from a lower angle. Try to get your composition in place in advance so that you can concentrate on the food when it's ready to photograph; you don't really want to be worrying about glassware, cutlery and napkin placement when the dish is ready.
6. Trust your instincts when a composition isn't working
If it doesn't feel right, it probably isn't. Break the set down and start again; you'll probably bring in a few elements from your previous composition, but often it's good to re-approach an idea from a different angle.
7. Don't let the food sit around for too long
Many herbs and salad leaves (coriander being a perennial offender) whither at the mere sight of a camera; the longer your dish hangs around, the more it starts to look tired and un-appetizing. Food like meat begins to dry out quickly on set and will benefit from a light brush of oil, but be careful not to overdo it otherwise it'll start to look greasy.
8. Honour the accident
If you're taking a slice from a cake and a few crumbs fall onto the tabletop, have a quick look through the lens - it might be worth leaving them there. A bit of mess adds charm and can make a recipe more approachable to the viewer; sometimes rigid perfection makes the prospect of re-creating a dish oneself feel like a daunting one.
9. Give it a spritz
When taking still-life pictures of fruit & veg a few misty bursts of water with an atomizer (Muji have a good selection) can transform a shot. Subjects that looked a bit lifeless will appear as if they've been plucked from a crisp, dewy garden.
10. Be prepared
As odd as it may sound, I always have a few props rattling around in my bag wherever I go. From a distance it may sound like there's a one man band approaching, but there's always the chance you're going to stumble across the juiciest wild strawberries you've ever seen down a quiet lane and need something at hand to photograph them in.


